Group for Camp Cooking and Camping Topics - Adding Recipes Every Day - You Can Add Your Own
Dutch Oven Campfire Bread Recipe
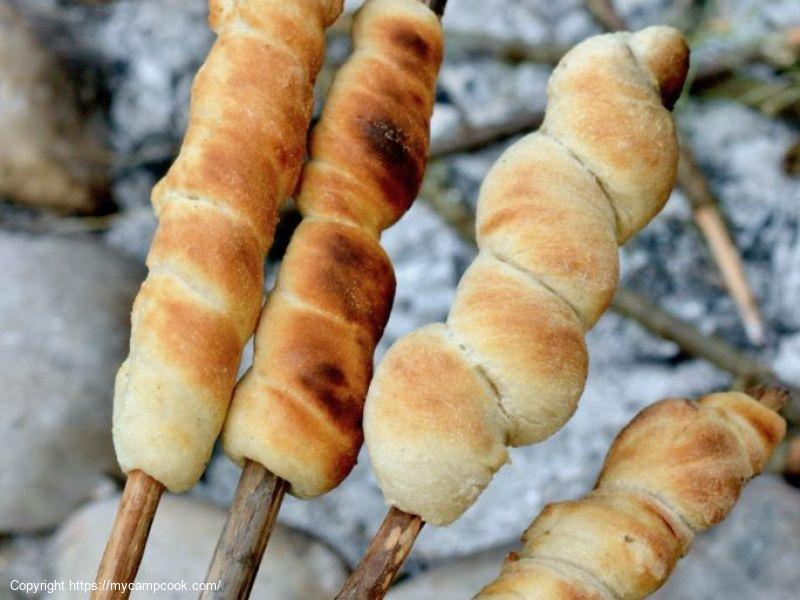
Freshly baked bread is one of the best things to wake up to in the morning. There isn’t much that can beat that fresh smell wafting through the kitchen. But did you know that with the help of a Dutch oven, you can bake delicious bread when you’re out camping, too?
That’s right! Cooking bread in a Dutch oven is entirely possible (we would even go as far as to say easy) when you have red hot embers in the firepit and a ball of fresh dough ready to bake. Our camping bread only needs 4 ingredients, too, making this a quick Dutch oven bread recipe that requires little equipment, space, or planning to prepare – perfect for while you’re setting up camp!
All you need is a camping Dutch oven, yeast, flour, salt, and water for this camp bread recipe. Keep reading to find out how to make campfire bread!
| Category: | Bread Recipes |
| Seasons | |
| Cuisine Type | American |
| Tags: |
| 3 1/4 cups unbleached bread flour |
| 1 packet active dry yeast |
| 1 tsp salt |
| 1 1/2 cups warm water |
| 1 Cooking oil |
Making bread in a Dutch oven isn’t all that difficult, as long as you have the right ingredients and some spare time to kill around the campfire! Keep reading, though, to find out our top baking tips in this campfire bread FAQ.
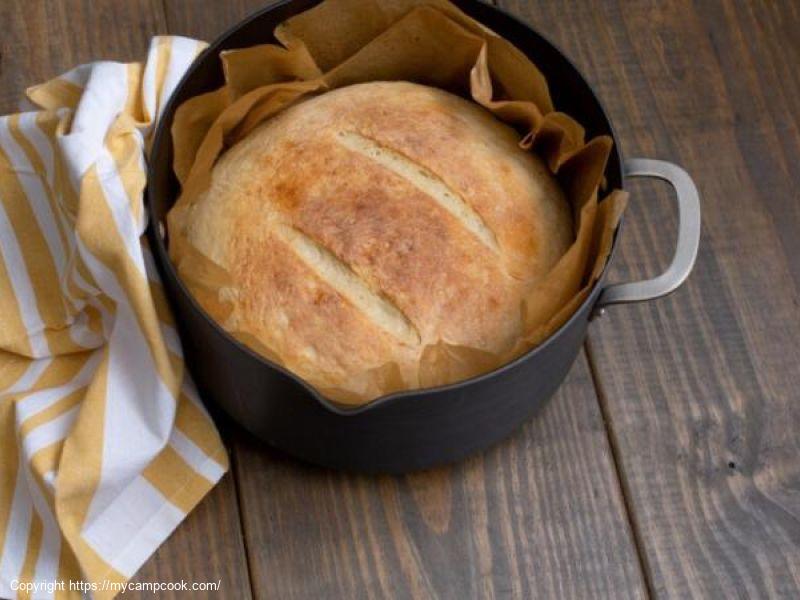
Which Dutch oven is best for campfire bread? There are lots of different types of Dutch ovens on the market, but you need to be careful about which style you take camping with you. Dutch ovens have been around for centuries, if not thousands of years, in some shape or form – and at their most basic, they consist of a large cast iron pot with a removable lid. These traditional Dutch ovens are heavy-duty and able to withstand the rigors of the outdoors, but they are heavy and hefty to carry around. We suggest a lighter camping Dutch oven, which, while smaller in size, is still perfect for baking. Camping Dutch ovens often have a number of added features, including cast iron legs that allow you to stand them directly in the fire, and a dedicated lid lifter to help you to check if your bread is baking! We don’t suggest taking your shiny enameled cast iron Dutch oven camping, as it’s not designed to be used in an open fire. The enamel can easily chip off, as these modern Dutch ovens aren’t as durable as traditional cast iron Dutch ovens.
How do I clean my Dutch oven after baking campfire bread? Dutch ovens don’t need much cleaning or attention, which is why they are great for camping trips. After baking your campfire bread, you can remove any stuck-on dough or parchment paper then wipe out the excess grease with a paper towel or a cloth. If you’ve got stubborn stains, which we doubt after baking bread, then you can leave your pot to soak in warm water. This should loosen up the stains, and you can scrape them off. Cast iron Dutch ovens also have a layer of seasoning, which you’ll need to keep topped up every few months to keep it non-stick and to stop it from rusting. After cleaning the Dutch oven, you’ll need to add a layer of vegetable oil to the cooking surface, then bake it in the oven for 20 minutes.
What else can I cook with my campfire bread? You can prepare your camp fire bread in the morning for breakfast or in the afternoon to go with your lunch or dinner. You can use your Dutch oven for cooking up a mountain man breakfast, complete with baked eggs, hash browns, sausages, bacon, and a few vegetables, then serve a feast on top of sliced camping bread. You can cook up a fried breakfast in a cast iron skillet before serving on toasted bread. You could make brunch sandwiches with egg and avocado, bring along tasty sandwich fillings for lunch, or cook up a campfire dessert using cherry pie filling and a pie iron. There are countless options – and with a Dutch oven, you can not only bake bread, but also cook up a scrumptious feast to go with your fresh camping bread.
Dutch Oven Campfire Bread Summary Our bread is a fantastic recipe to bake up in a camping Dutch oven as you’re sitting around the campfire. It’s easy to prepare; you just need some time to let the bread rise and bake! Why not save our Dutch oven campfire bread recipe for your next camping trip?
Credit: https://unocasa.com/blogs/recipes/campfire-bread
Per Serving
| Kcal: | 123 kcal |